
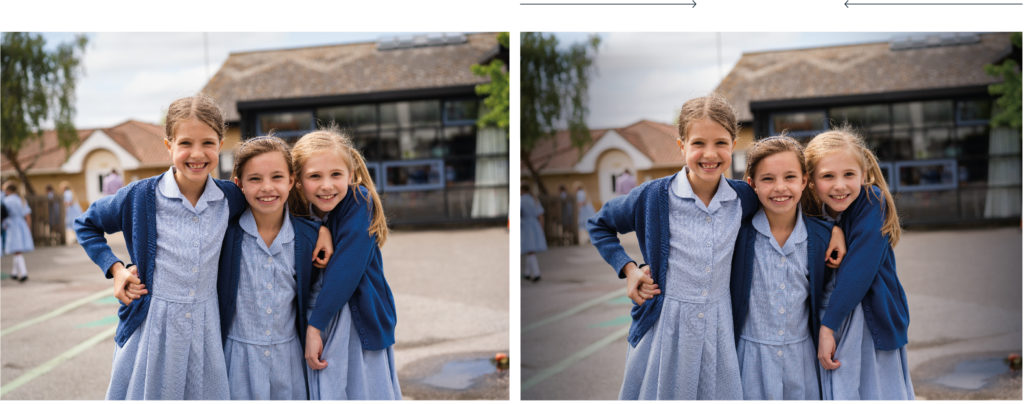
Photography Treatment – Vignette
A photography Vignette is a reduction of an image’s brightness or saturation toward the periphery compared to the image centre.
A vignette can be applied to the Ipswich school photography to create sufficient contrast for various brand assets to be placed on top e.g. logos and typography.
The vignette should be considered carefully as it is not always needed. Applying a vignette is a trial and error process. A vignette application for one image may not work for another.
The vignette can be applied in Adobe Photoshop, but it is advised to use Adobe InDesign, as you will have far more control of how the vignette will look in situ. An InDesign document containing the vignette filter is available to download below.
Technical Advice
For any professionally produced documentation, when possible, photographers should be used as a rule. To ensure brand consistency please follow the styling guidelines set out below.
Colour – Warm tones to make images appear more welcoming and relaxed.
Composition – Try to avoid having the main focus at the centre of the image. This allows for more flexibility when using for marketing items such as posters, leaflets and banners.
Light – Lighting is key, all images should be shot in a way that uses as much natural light as possible.
Focus – Images should be shot from a viewpoint that creates a light, interesting image, with the main focus being clear, try to adjust the depth of field.
Filter – Filters can be used to brighten the image and to add warmth, but should remain as natural looking as possible.
Image Size
Images need to be shot at high resolution and where possible in RAW format, however high quality jpegs are suitable.
Images for web should be no bigger than 1200px x 1200px at 72ppi.
Please try to avoid taking photos on a smart phone for commercial use. Photographs can be taken on smart phones for use on social media platforms.